
This post may contain affiliate links. Please read my disclosure policy.
Chocolate covered cake balls with a double dose of peanut butter! This is a cake balls from scratch recipe, with homemade peanut butter cake on the inside and homemade peanut butter frosting on the outside!
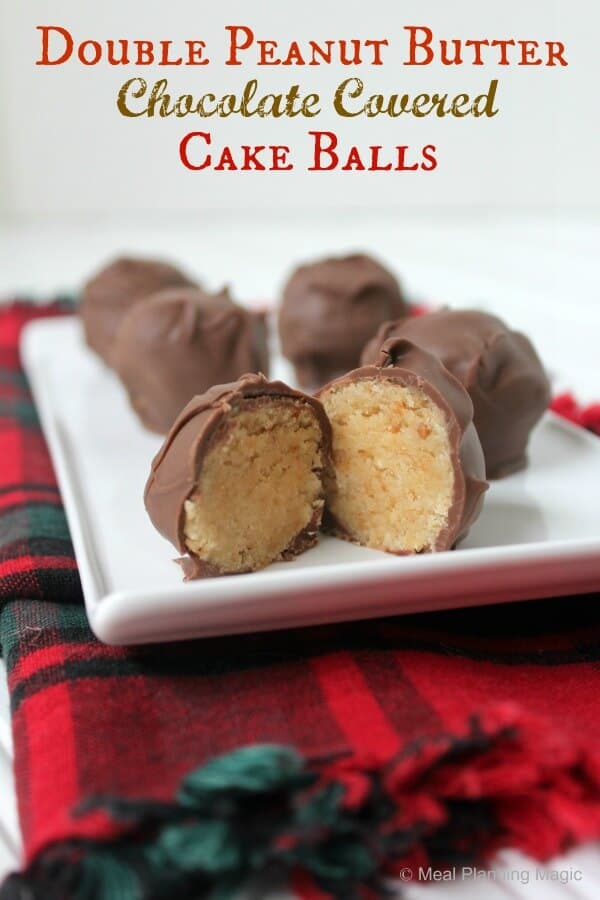
Double peanut butter chocolate covered cake balls. Need I say more?
If you ask me, peanut butter and chocolate is a match made in heaven. It’s a flavor combination I’ve loved for as long as I can remember. And ever since cake balls have come on the scene, I have enjoyed those tasty little treats. But what I haven’t loved is the fact that most cake ball recipes use a boxed cake mix and canned frosting. I wanted to make cake balls from scratch so when I came across this cookbook at the library a couple of weeks ago, I knew it was perfect for me to get the best of both worlds.
And you may ask, why are these called Double Peanut Butter chocolate covered cake balls?
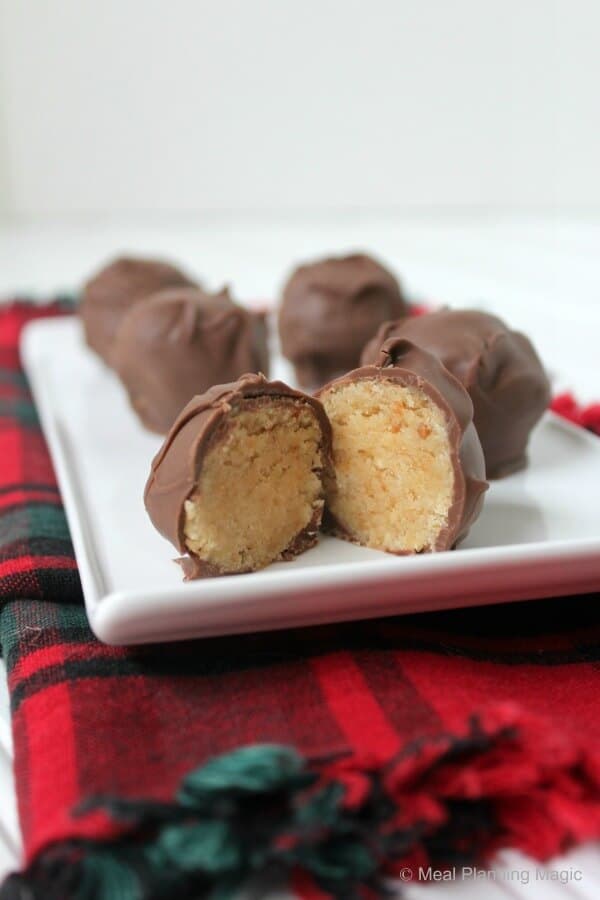
Because not only is the inside peanut butter cake, but the outside is peanut butter frosting. (super yum!)
And, boy, was it worth the wait! My daughter helped me make these. They are so easy for kids to help with. The actual cake baking was not too bad but she especially liked the crumbling of the cake and the rolling of the balls—even your younger kids can help with those.
Other than the little bit of extra time it takes to make the cake and frosting from scratch, it really is a simple recipe. The only bad news is that the chocolate covered cake balls are so tasty, it’s hard to enjoy just one or two at a time! The good news is that they freeze well which means you can not only make them ahead of time for your holiday treat trays, but maybe if they’re in the freezer, they are out of sight and out of mind. This means that you might forget they are there, so you’ll be less likely to indulge in more than you should!
That said, if you are a fan of the peanut butter and chocolate combination too, then these chocolate covered cake balls are a must make!
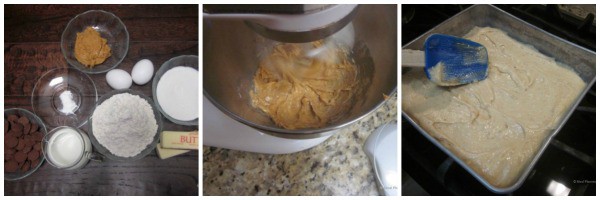
Just a few simple ingredients is all it takes to bake the peanut butter cake from scratch.
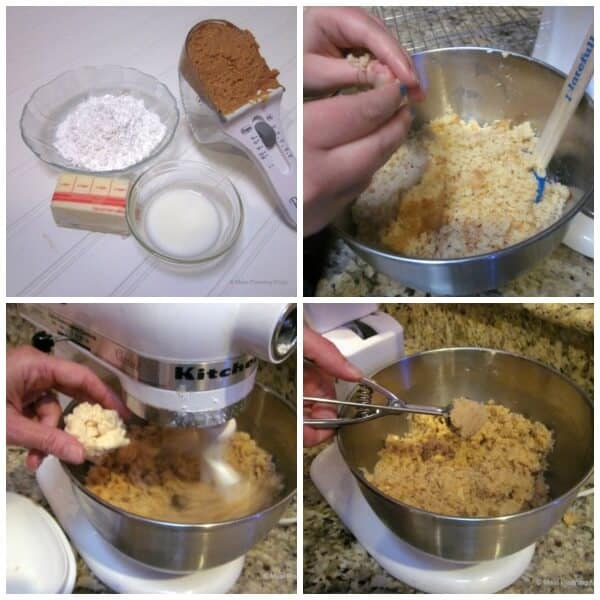
The frosting comes together quickly and is ready to combine in the crumbled cake. Using a scoop helps ensure the cake balls are of mostly even size.
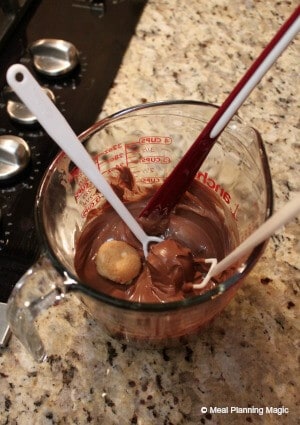
When dipping the cake balls in the chocolate, I used these dipping tools I got a Michael’s a long time ago. They are not necessary but sure are handy! If you don’t have them, two forks will get the job done too.
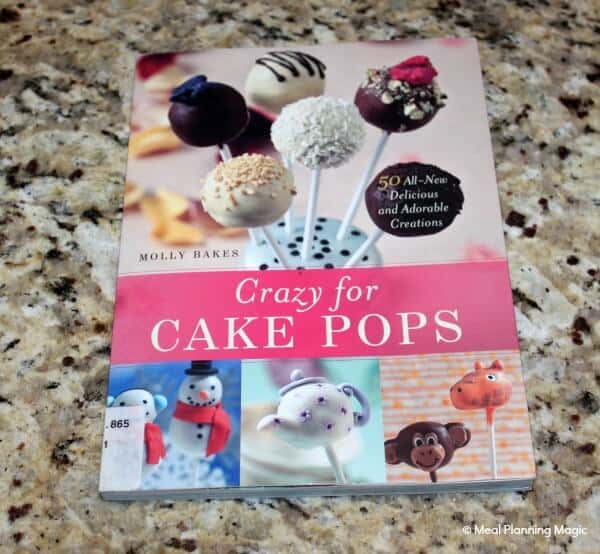
This is the book from which I got this recipe. There are so many yummy ideas in here…I’m glad I found it!
I hope you’ll give these double peanut butter chocolate covered cake balls a try! If you’re a fan of that flavor combination, you won’t be disappointed!
- [b]Peanut Butter Cake[/b]
- 1 ⅓ cups self-rising flour, plus more for the cake pan
- 1 teaspoon baking powder
- ⅓ cup unsalted butter, softened, plus more for greasing the pan
- 4 ½ tablespoons smooth peanut butter (I used the natural grind-your-own kind)
- ⅔ cup sugar
- 2 eggs, at room temperature
- ½ cup milk
- [b]Peanut Butter Frosting[/b]
- ⅓ cup unsalted butter, softened
- 3 ½ tablespoon smooth peanut butter (I used the natural kind again)
- 2 cups powdered sugar
- [b]For Cake Balls Chocolate Coating[/b]
- 1 package chocolate candy melts (these can be found at craft stores)
- 1 tablespoon shortening (not oil)
- 1 tablespoon milk
- Preheat the oven to 350°. With butter, lightly great and flour a 10-inch round cake pan or an 8-inch square cake pan.
- Sift together the flour and baking powder and set aside.
- Cream the butter and peanut butter until combined. Add the sugar and coitnue to cream until pale and fluffy (about 2 minutes). Add the eggs, one at a time, mixing well between each addition. Starting with the flour mixture, add half of it to the peanut butter mixture, then half the milk and alternate until done. Repeat with the remaining flour and milk. Pour the mixture into the prepared pan and bake for 35-45 minutes or until a toothpick inserted into the center comes out clean. Once baked, leave to cool in the pan for 20 minutes, then turn out onto a wire rack to finish cooling.
- Cream the butter and peanut butter together. Gradually add the sugar, then continue to cream until light and fluffy. Finally, mix in the milk. Refrigerate for 30 minutes before using.
- Crumble your cake completely in a large mixing bowl. You can do this by hand as it tends to give a finer crumb, or may use your food processor.
- Once you have crumbled the cake as finely as possible, take the frosting, one heaping tablespoon at a time, and begin mixing it in with the crumbs (I used my mixer for this). Keep mixing until you have a fudge-like texture. To test if it’s read, take a little of the mixture in your and squeeze—it shouldn’t crumble and should be pliable. If you add too much frosting, your balls will be soggy.
- Using a tablespoon scoop (or spoon), roll into a ball. Place each ball on a tray lined with wax or parchment paper. Refrigerate for 15-20 minutes, or until they are firm.
- Melt the chocolate according to package instructions. You want the chocolate to be a smooth and liquid like. Dip cake balls in melted candy. Gently tap the cake ball over the bowl to remove any excess candy. Place on a baking sheet lined with wax or parchment paper. It should take only 1-2 minutes for the chocolate to set.
- Store in an airtight container in the refrigerator for up to a week or in the freezer for up to three months (if they last that long!)
Be sure to check out our Pinterest board for all the great ideas too—it’s a great way to keep track of your favorites.
Don’t want to miss a recipe? Then be sure to CLICK HERE so you can subscribe to all the updates. Besides sharing holiday recipes, I also share all kinds of meal planning and kitchen organization ideas. It’s simple and you’ll also receive weekly meal planning inspiration in you inbox!
And be sure to check out the links below for all the bloggers who are sharing their own recipes this week! If you’re a blogger and want to join in the hop, you can find more details and SIGN UP HERE.
![]()
Sarah
yum! is there a new Pinterest board this yearÉ I didn`t get an invite (I`m Yummysmells)
Karen @ Karen's Kitchen Stories
These look amazing Brenda!