
This post may contain affiliate links. Please read my disclosure policy.
As I’ve mentioned, I have been participating in the Pantry Challenge hosted by Real Mom Nutrition. I included my freezer and refrigerator too. And since I’m getting ready for a big freezer cooking session coming up in the next week so getting my freezer in order is very important! I’ve talked about freezer organization before but it’s been awhile and a lot of you are new so sharing my tips with you today!
Now before I started meal planning, I didn’t give much thought to how things were organized in my freezer. I mean, you just throw it in and it’s saved forever, right? No! As I started meal planning more, I realized I’d need to have a system of some kind that helped me keep track of what was going in so I could use it up later. Freezing foods can help you save money in the long run too by preserving leftover food or letting you take advantage of sales or bulk food purchase (check out this video I did for the LiveWell Network for even more tips!)
Organzing your freezer is pretty simple so here are my top five tips:
Figure Out What You Can Freeze
I get ask this question all the time! My answer is usually “just about everything!” People are surprised to learn that I shred and freeze my own block cheese, cut up fruit, and of course prepared meals ready to pull out, heat and serve. I also freeze other dairy like buttermilk or It is recommended that items remain in the freezer no more than three months, on average, to avoid quality issues but you can store some things for longer than that. Find out how to best prepare your food for freezing by checking out this link to get you started or this link. to get you started.
Choose The Right Containers.
To make the most of your freezer space, choose containers that work for you. I use a combination of plastic containers made for the freezer (like those from Tupperware). I also use glass containers (like those from Pyrex) that allow me to thaw and heat in the same container. I also sometimes use zip-top bags. If you freeze the contents flat, you can stack them on end like a bookshelf when they are frozen to save you even more space. Sometimes I will line a baking dish with foil and freeze it right into that dish. Then when it’s frozen, I pop it out like a giant ice cube, wrap it in more foil or slip into a freezer storage bag, label it and then when I’m ready to bake it, I just slip it back into it’s baking dish and I’m good to go!
Label It.
I want to say right now that if you do not label your foods when it goes in you will not remember what it is when it needs to come out. I’m pretty sure on this one. No matter what kind of awesome memory you think you have, lots of things look the same when they’re all frozen. And what if other members in your family want to pull something out to make for a meal? They need to know what things are. My favorite example was the time I thought I was thawing (unlabeled) pork chops in cranberry sauce from a freezer meal exchange to have for dinner only to discover once it was thawed it was spaghetti sauce. Whoops!
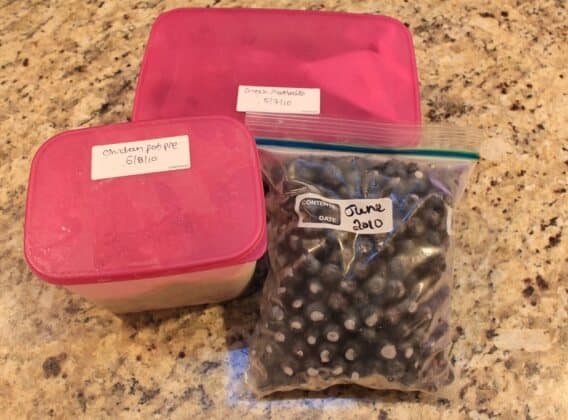
I personally love the reusable labels from Label Once. They adhere to a lid and will not come off in the freezer or dishwasher. When it’s time to reuse your container, just use the eraser that comes with the starter set (or any eraser will do) to erase the contents and date and write on the new information. Labeling your ziptop baggies with a marker works great too!
Log it.
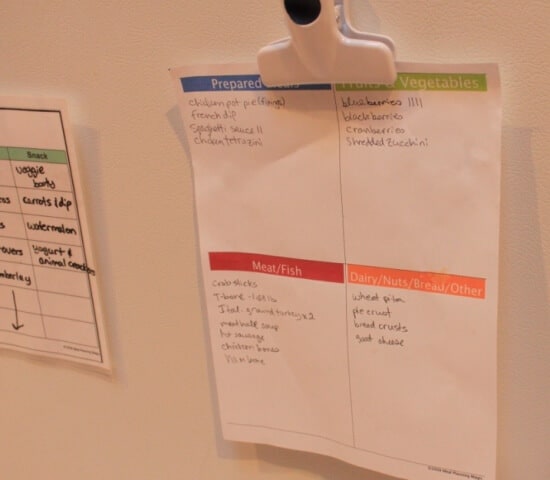
Now that your items are labeled, you’ll want to log what goes into the freezer (plus, you’ll save energy by not opening the freezer door!). I created a form that helps me find what I’m looking for more easily. It has four categories: Prepared Meals, Fruits & Vegetables, Dairy/Nuts/Bread/Other and Meats/Fish. Don’t forget to date it too! When it comes time for meal planning, just grab your list and scan it to find out what you have on hand and choose your recipe accordingly. Get a copy of the form shown below by clicking here to download. (I have two different options–full pages for if you have a large freezer and a smaller one with all categories on one page for your smaller freezer).
Map It.
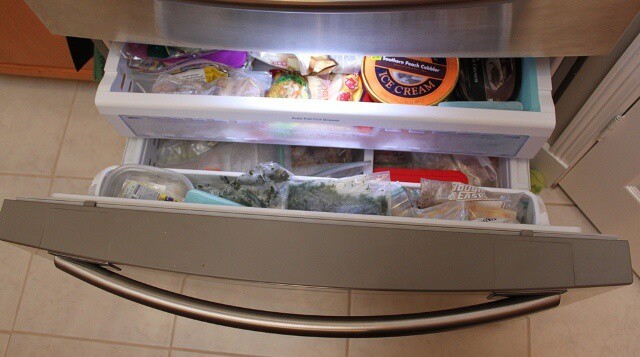
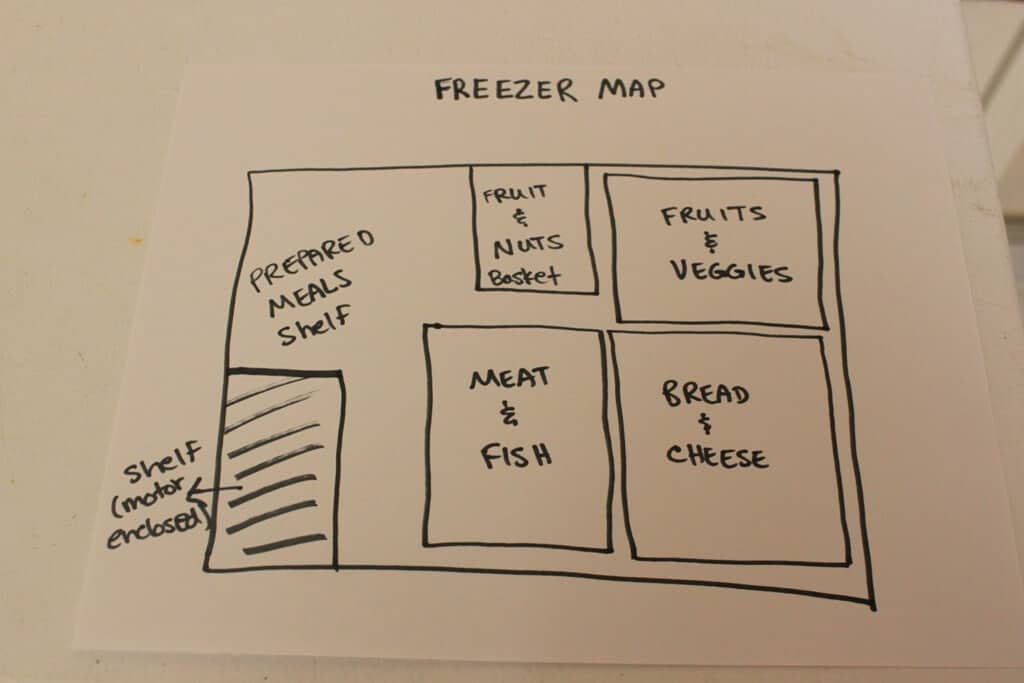
We have a medium chest-style deep freezer. In it I have some plastic crates to help me organize it into compartments. My parents have an upright freezer and they also use crates to containerize loose items. For my freezer, I divided the freezer into “zones” that correlate to my log sheet and made a little map that shows what categories are where. For example, the upper right crate holds fruits and veggies, like the blueberries we pick every summer or sliced bell peppers that I got on sale. I have this diagram taped to the top of the freezer that shows the crates and what is contained in each so that other members of my family can find what they are looking for more easily too! Even if you have just a freezer with the refrigerator, having different zones and a map will help everyone find what they need when they want it!
I hope some of these tips will inspire you to organize your freezer too. It’s easy to get organized when you have a few tricks up your sleeve!
Disclaimer: I am an Amazon affiliate which means when you order products mentioned in the post using the links provided, I receive a very small portion of that sale. But all opinions are my own.
Leave a Reply