
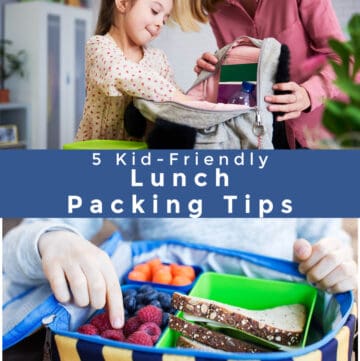
These 5 Simple Kid-Friendly Tips for prepping and packing kids lunch helps them develop skills to last a lifetime, it also helps parents save a little time too. This year marks my 10th year partnering with the Healthy Family Project and their Power Your Lunchbox campaign! I have loved being a ...
Kitchen Organization
10 Vacation Meal Planning Tips
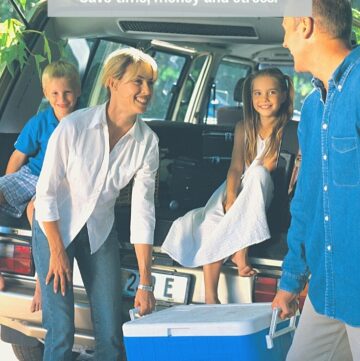
Whether on your own or with a group, these 10 Vacation Meal Planning Tips will help save time and money plus take away extra stress! My idea of a vacation means a vacation where someone else is doing the cooking! But since money doesn’t grow on trees (at least for us it doesn’t!) and going out ...
Six Tips for Kitchen Spring Cleaning
These Six Tips for Kitchen Spring Cleaning will help you make one of the most-used rooms in your home clean and organized! Be sure to sign up for my email list to get new recipes and ideas in your inbox! It’s spring time and that means it’s time for some spring cleaning! I originally shared this ...
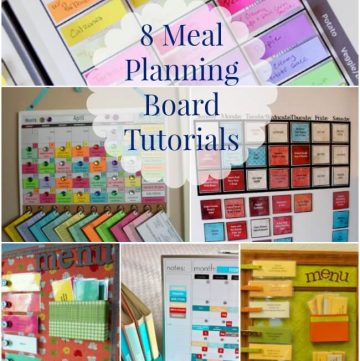
8 Meal Planning Board Tutorials
With the Back-To-School season just around the corner, it seems like a great time to get reorganized, no? Even if you don't have children at home, there's something about the start of school that is kind of like a reset button for everyone. A friend of mine recently told me that she notices the ...
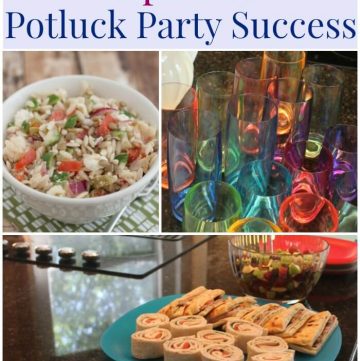
My Favorite Tips for Potluck Party Success
I've hosted many potlucks over the years so I'm sharing My Favorite Tips for Potluck Party Success plus several FREE online services to make planning your next potluck a lot easier! I have hosted many a party over the years and one of my favorite things to do is to make it a potluck party! ...
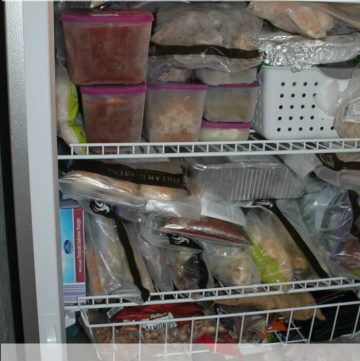
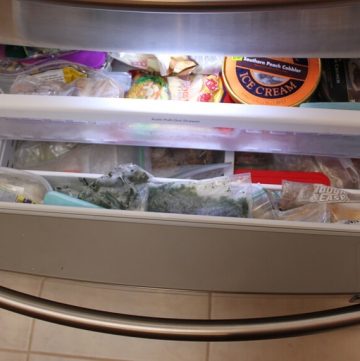
Organize Your Freezer in 5 Easy Steps
Click here to PIN this post to Pinterest so you'll be able to find it later! This post originally appeared in January 2011. It has been updated to add new photos and update the text a bit. I still use all of these tips regularly so I hope they help you too! It's time to get organized! Ok, if you ...
Organize Your Freezer In 5 Easy Steps
As I've mentioned, I have been participating in the Pantry Challenge hosted by Real Mom Nutrition. I included my freezer and refrigerator too. And since I'm getting ready for a big freezer cooking session coming up in the next week so getting my freezer in order is very important! I've talked about ...
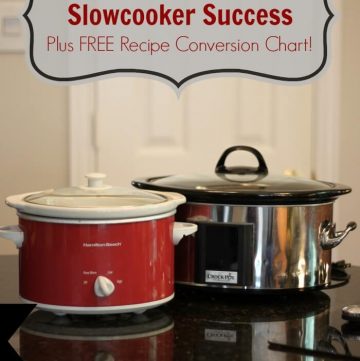
Ten Tips For Slowcooker Success Plus FREE recipe conversion chart!
I received my first slowcooker as a wedding present (over 20 years ago!) and it’s one of those things that seems to have gone through different phases over the years. I’m pretty sure there were a few years in there that it collected dust more than it was ever used. But since I had kids and even more ...
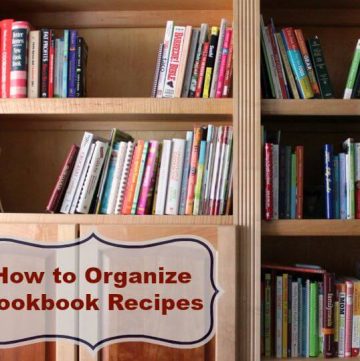
How To Organize Cookbook Recipes with Eat Your Books
Find your favorite recipes and learn How to Organize Cookbook Recipes with Eat Your Books! You guys! I know I’ve told you before about my (ridiculously) huge cookbook collection so I can’t wait to tell you about this service I discovered while ago, called Eat Your Books. It’s pretty awesome ...
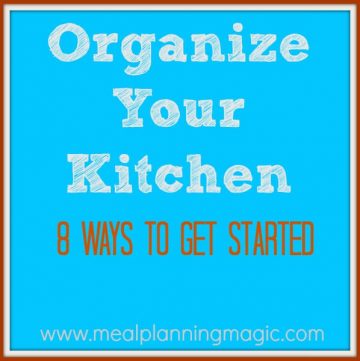
Organize Your Kitchen-8 Ways to Get Started!
Last week I announced the Keeping It Real 2014 Tour (read more about that by clicking here and January's theme is Organization! So I thought I'd start by sharing some posts that I've already written but may be new to some of you. Or maybe you've seen them before but never moved to action and this ...